
MOST ACCESSIBLE
01
Oven & Broiler
The dependable indoor workhorse for roasting, baking, reverse searing, sheet-pan meals, and high-heat broiler finishes without adding another appliance.
You do not need a smoker, grill, or outdoor kitchen to make deeply browned, tender, flavor-packed food. This guide compares the most useful indoor cooking methods—from ovens and cast iron to air fryers, slow cookers, and sous vide—so you can choose the right technique for the food, time, and equipment you already have.
Answer a few quick questions about the results you want, how involved you like to be, how much time you have, and the equipment already in your kitchen. We’ll point you toward the indoor cooking method that fits your routine—not the trendiest appliance on the counter.
01
Crispy edges, a hard sear, slow-cooked tenderness, precise doneness, or an easy all-purpose meal—the finish you want helps narrow down the right method.
02
Choose whether you enjoy managing heat and building flavor step by step, or prefer a method that handles most of the cooking while you move on with your day.
03
A fast weeknight dinner calls for a different approach than a long braise, slow roast, or precision cook planned several hours ahead.
04
Your oven, stovetop, counter space, storage, and existing cookware all matter. The best method is one that fits the kitchen you already use.
Compare the speed, hands-on effort, versatility, space needs, and best uses of six practical indoor cooking methods before choosing the one that fits your kitchen and routine.
The dependable indoor workhorse for roasting, baking, reverse searing, sheet-pan meals, and high-heat broiler finishes without adding another appliance.
The heavy-duty flavor builder for deep browning, hard sears, stovetop-to-oven meals, shallow frying, braising, and dependable everyday cooking.
The fast everyday option for burgers, breakfast, sandwiches, chicken, pork chops, pan sauces, and flat-top-style meals using the burners you already have.
The crispy shortcut specialist for wings, potatoes, vegetables, chicken, reheated BBQ, and small-batch meals with fast convection heat and minimal cleanup.
The low-and-slow comfort-food expert for pulled meats, chuck roast, short ribs, chili, beans, soups, stews, and deeply flavored meals that reward patience.
The precision specialist for evenly cooked steaks, pork chops, chicken, seafood, and meal prep, followed by a fast sear for the browned exterior.
The oven is the method most home cooks already own but often underestimate. It can roast, bake, reverse sear, braise, handle full sheet-pan meals, and finish food under intense broiler heat. It may not have flames licking through the grates, but used correctly, it can still produce deeply browned, tender, seriously satisfying food.
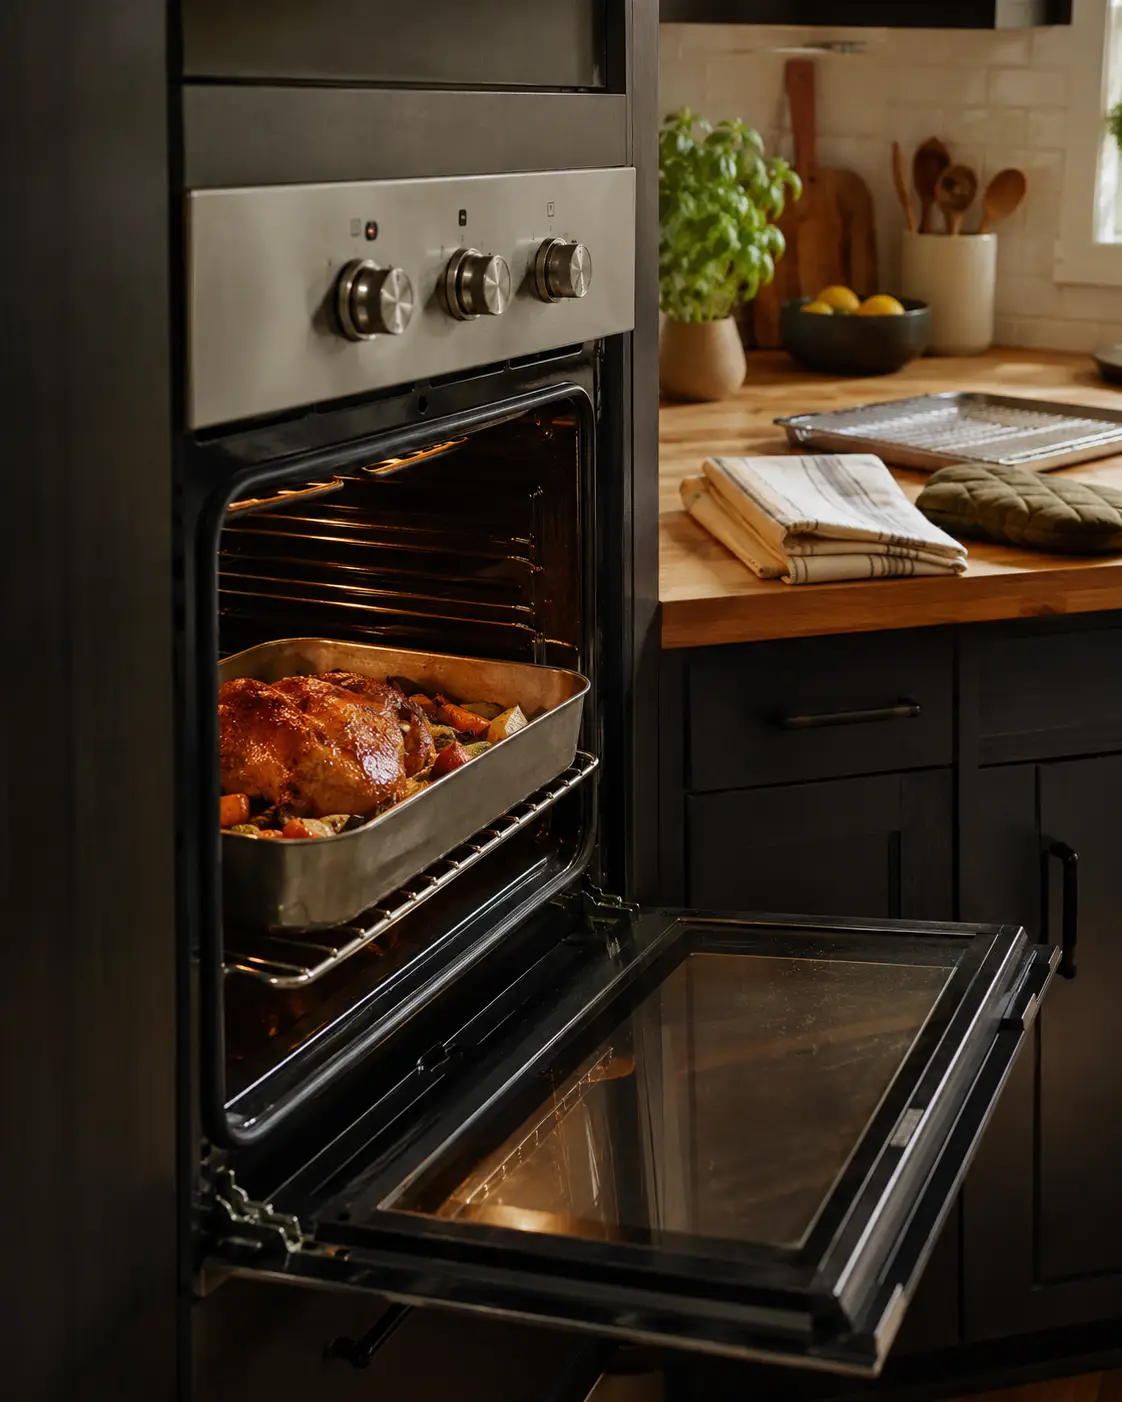
The oven surrounds food with steady dry heat, while the broiler delivers intense heat from above. Using them together lets you cook food evenly first, then finish with the browning and caramelization that make it look and taste far more exciting.
Use the center rack for balanced roasting and baking. Move food higher when you want more top browning, or lower when the bottom needs stronger heat.
Use the center rack for balanced roasting and baking. Move food higher when you want more top browning, or lower when the bottom needs stronger heat.
Season well, use a rack when airflow matters, and turn or baste only when the food benefits from it. For meats, cook gently first and save the hardest heat for the finish.
Use the broiler for a fast final blast of heat that crisps skin, bubbles cheese, caramelizes sauce, or builds a browned crust. Stay close—broilers go from beautiful to burned in a hurry.
The oven earns its place by being dependable, spacious, and capable of handling nearly every kind of meal. Its biggest limitation is that surrounding heat does not naturally create the same hard sear as direct contact with a hot pan or live fire.
There is no new appliance to buy, store, or explain to everyone else in the house.
Steady surrounding heat makes the oven excellent for roasting meats, baking, casseroles, and larger foods that need time to cook through.
Full sheet pans, Dutch ovens, roasting pans, and multiple dishes can fit at once, making it practical for families and gatherings.
The broiler can brown cheese, crisp chicken skin, caramelize sauces, and rescue food that looks a little too polite.
A full-size oven takes longer to become useful than a skillet, air fryer, or countertop appliance.
The oven alone cannot match the crust created by direct contact with hot cast iron, carbon steel, or a griddle.
Long cooks and high temperatures can make an already warm kitchen feel like it has joined the cookout.
Lean meats and smaller portions can overcook when time and internal temperature are not monitored carefully.
The oven and broiler are the best starting point for indoor cooks because they require no special appliance and can handle everything from weeknight sheet-pan meals to reverse-seared steaks and slow-roasted comfort food. Master preheating, rack placement, airflow, internal temperature, and the broiler finish, and the ordinary oven becomes a much more serious cooking tool.
BACK TO INDOOR COMPARISONCast iron is built for cooks who want serious browning without stepping outside. Its heavy construction holds heat exceptionally well, making it ideal for steaks, burgers, chicken, pork chops, cornbread, shallow frying, braising, and stovetop-to-oven meals. It takes a little longer to heat and cool, but once it gets moving, it cooks with the confidence of a pan that knows it may outlive everyone in the kitchen.
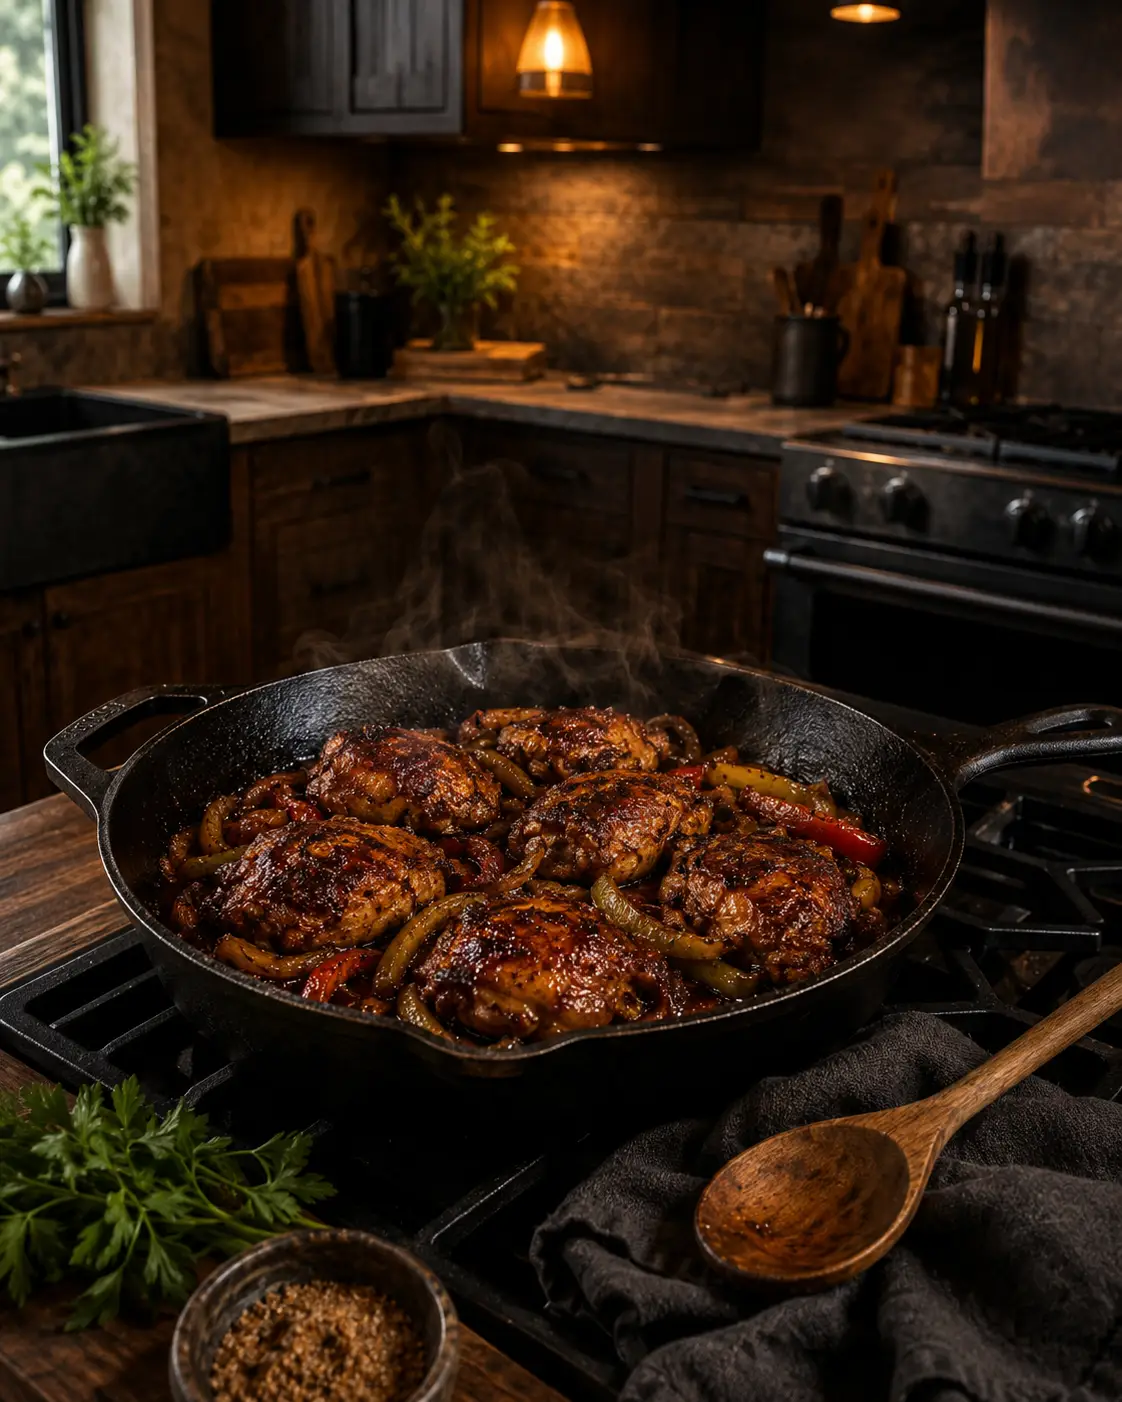
Cast iron absorbs a large amount of heat and releases it steadily into the food. That stored heat creates strong surface contact, deep browning, and dependable cooking even when cold ingredients temporarily lower the pan temperature.
Place the pan over low or medium heat and allow it to warm evenly before increasing the temperature. Blasting cold cast iron over maximum heat can create hot spots before the rest of the pan catches up.
Pat meat and vegetables dry before seasoning. Surface moisture turns into steam, and steam is the enemy of the dark, flavorful crust cast iron does so well.
Add a thin layer of cooking oil once the pan is hot. Use an oil suitable for the cooking temperature, then place the food down without overcrowding the surface.
Cast iron delivers some of the strongest browning available in a home kitchen and can move directly from burner to oven. That performance comes with extra weight, slower temperature changes, and a little more care than lighter cookware.
The oven earns its place by being dependable, spacious, and capable of handling nearly every kind of meal. Its biggest limitation is that surrounding heat does not naturally create the same hard sear as direct contact with a hot pan or live fire.
The heavy cooking surface retains enough heat to build deep crusts on steaks, burgers, chicken, pork, vegetables, and potatoes.
Once fully preheated, cast iron stays hot even after food is added, helping reduce weak searing and uneven browning.
Start with a hard sear on the burner, then move the entire pan into the oven to cook the center gently and evenly.
A properly maintained cast-iron pan can last for generations and often improves as its cooking surface becomes better seasoned.
Large skillets and Dutch ovens can be awkward to lift, move, wash, and pour from—especially when they are filled with hot food.
Cast iron holds heat beautifully, but it does not cool down quickly when the burner is lowered. Heat adjustments need to be made before the food is already in trouble.
The pan should be dried promptly and protected with a light coat of oil when needed to prevent rust and maintain its seasoned surface.
Hard searing may create enough smoke to test both your ventilation system and the patience of the nearest smoke detector.
Cast iron is one of the most useful tools for creating grilled and BBQ-inspired results indoors. It delivers a powerful sear, handles high temperatures, moves easily from stovetop to oven, and works for far more than meat. It is heavier and less forgiving of sudden temperature changes than lighter cookware, but for cooks who value crust, color, and concentrated flavor, cast iron earns its cabinet space.
BACK TO INDOOR COMPARISONA stovetop skillet or griddle is the fastest route to a real cooked meal without heating the entire kitchen. It handles burgers, breakfast, chicken, pork chops, vegetables, sandwiches, stir-fries, and pan sauces using equipment most kitchens already have. Unlike the oven, stovetop cooking gives you immediate control over the heat and lets you build browning, texture, and flavor as the meal comes together.
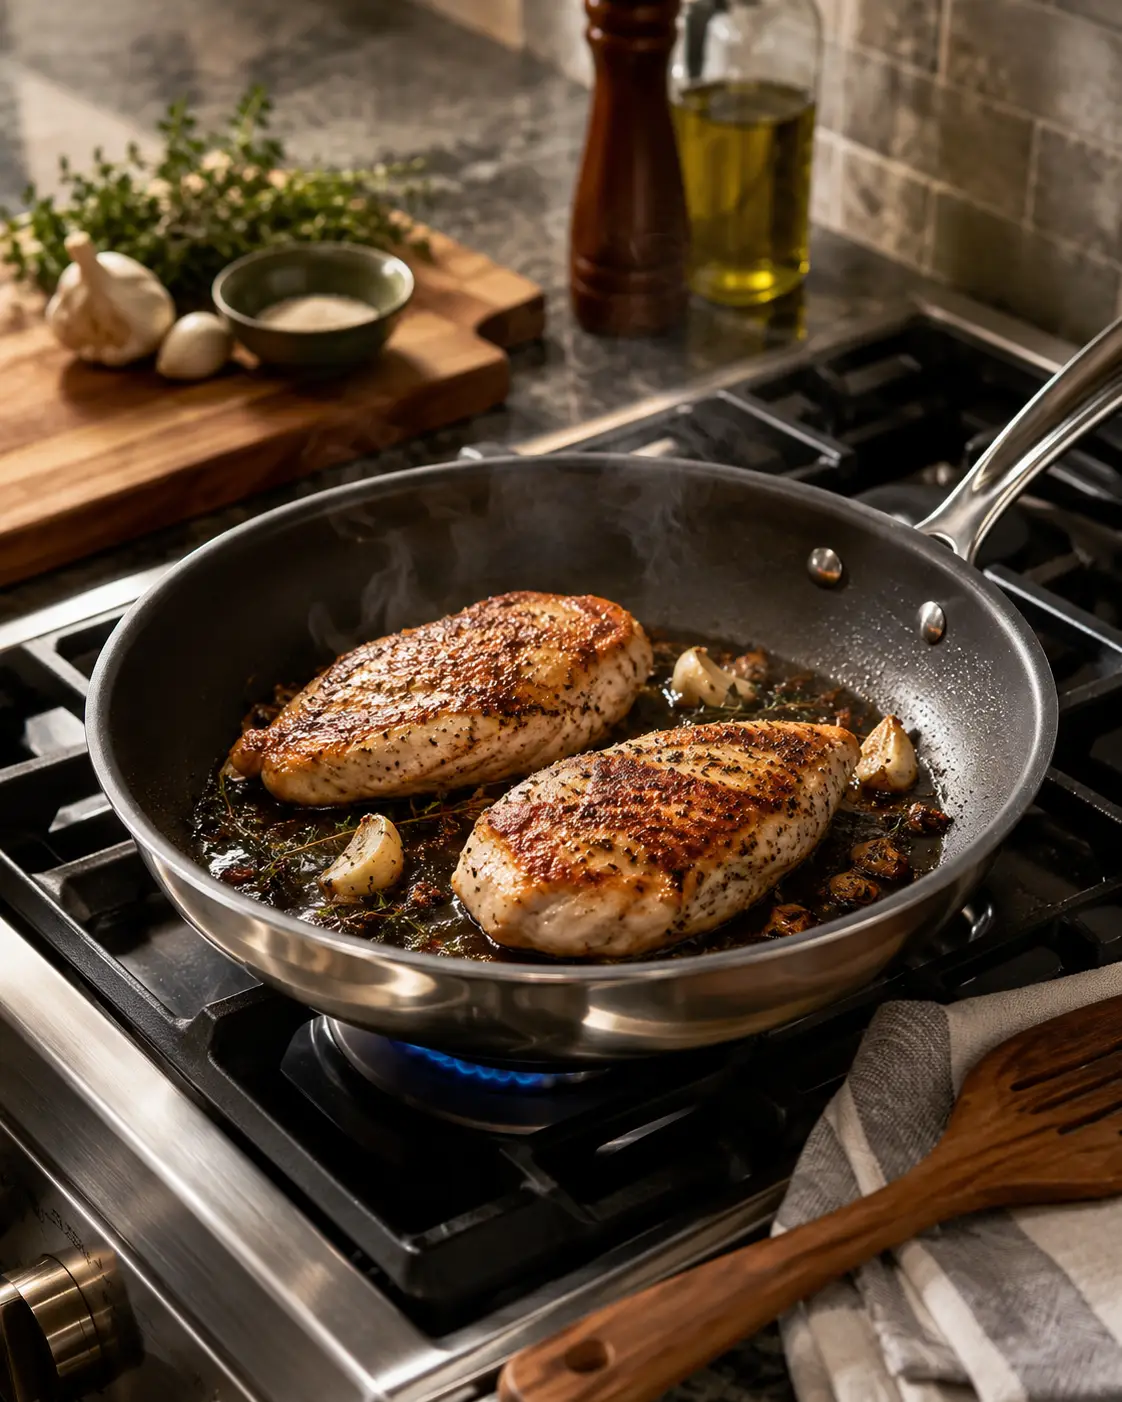
The burner heats the cookware from below, and the hot cooking surface transfers that energy directly into the food. Because the heat is concentrated and immediately adjustable, stovetop cooking can create fast browning while giving you direct control over every stage of the meal.
Allow the cooking surface to heat gradually, then add oil or cooking fat. Food placed into a cold pan tends to stick, release moisture, and cook without developing much color.
Allow the cooking surface to heat gradually, then add oil or cooking fat. Food placed into a cold pan tends to stick, release moisture, and cook without developing much color.
Leave enough room between ingredients for moisture to escape. Crowding the pan lowers the surface temperature and turns what should have been a sear into an unexpected steam bath.
Use higher heat to begin browning, then reduce it when the exterior is developing faster than the center. Stovetop cooking rewards attention, so watch the food rather than treating the burner setting as permanent.
Most skillets and griddles become ready to cook within minutes, making them ideal for weeknight dinners, breakfast, and last-minute meals.
Most skillets and griddles become ready to cook within minutes, making them ideal for weeknight dinners, breakfast, and last-minute meals.
You can raise or lower the burner as the food cooks, giving you more direct control than an oven or slow cooker.
Direct contact with a properly heated surface creates flavorful crusts on burgers, chicken, pork chops, vegetables, sandwiches, and potatoes.
Brown the main ingredient, sauté aromatics, deglaze the pan, and build a sauce without moving the meal to another piece of cookware.
Most household pans cannot handle large quantities at once without becoming crowded and losing their ability to brown effectively.
Food cooks quickly over direct heat, so walking away at the wrong moment can turn a good crust into something that needs a creative explanation.
Burgers, bacon, sausage, and high-heat searing can send grease beyond the pan and create additional cleanup around the stovetop.
Large pans and stovetop griddles may heat unevenly when the burners do not cover enough of the cooking surface.
Stovetop skillet and griddle cooking is the most practical option for fast meals, strong browning, and direct control. It requires more attention than an oven or slow cooker and may struggle with larger quantities, but it can handle nearly every meal of the day using simple cookware. For cooks who want speed, flexibility, and immediate feedback, the stovetop is where everyday indoor cooking does most of its heavy lifting.
BACK TO INDOOR COMPARISONThe air fryer is a compact convection oven built around speed and concentrated airflow. It excels at wings, potatoes, vegetables, chicken, seafood, reheated BBQ, and smaller meals that benefit from crisp edges without a pot of oil. It will not replace every pan or appliance in the kitchen, but when you want fast results and easy cleanup, it earns its counter space.
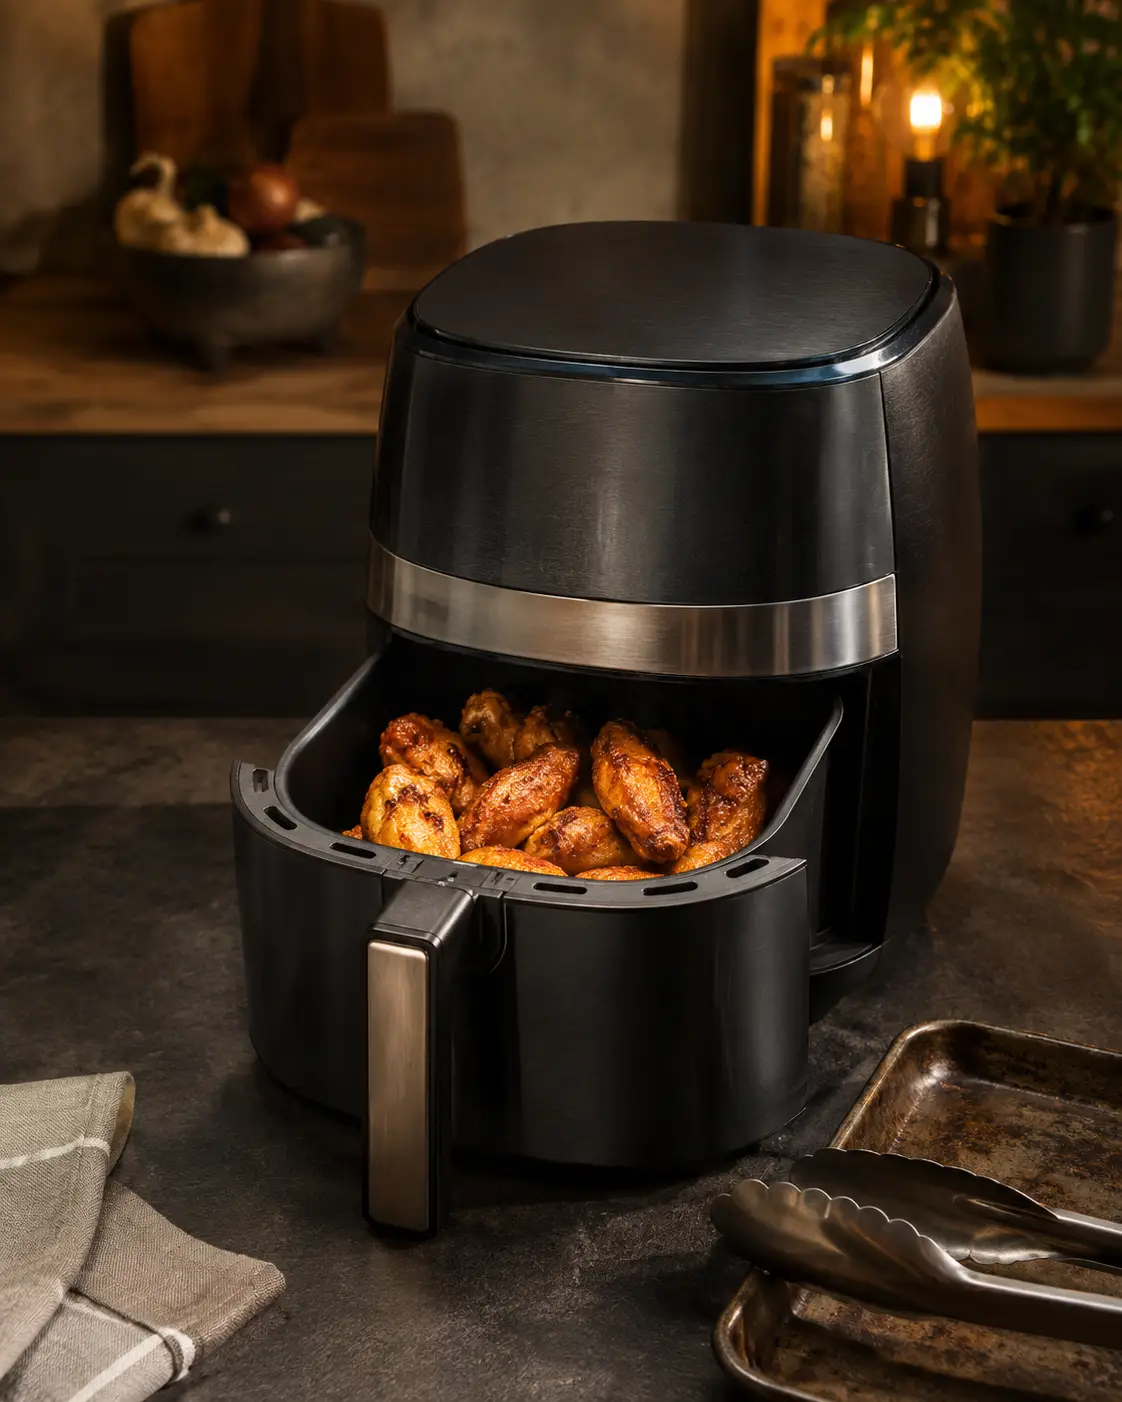
A heating element produces intense heat while a powerful fan rapidly circulates hot air around the food. The small cooking chamber and perforated basket help moisture escape quickly, encouraging browning and crisping faster than a full-size oven.l.
A short preheat gives meat, potatoes, and breaded foods immediate contact with hot moving air. Some simple reheating jobs can begin cold, but preheating usually improves browning and shortens the cook.
Arrange food in a loose single layer whenever possible. Overloading the basket blocks circulation, traps steam, and leaves the food softer than the appliance commercials promised.
Arrange food in a loose single layer whenever possible. Overloading the basket blocks circulation, traps steam, and leaves the food softer than the appliance commercials promised.
Shake smaller foods or flip larger pieces partway through cooking. Air fryers work quickly, so begin checking before the suggested time and use internal temperature rather than appearance alone for meat.
Most skillets and griddles become ready to cook within minutes, Air fryers are fast, efficient, and excellent at creating browned surfaces on smaller portions. Their biggest limitation is capacity: the same compact chamber that makes them quick can become inconvenient when dinner needs to feed more than a few people.
The small cooking chamber reaches temperature quickly and often cooks food faster than a conventional oven.
Rapid airflow removes surface moisture and helps wings, potatoes, vegetables, and breaded foods develop crisp edges without deep frying.
Pizza, fries, wings, roasted meat, and other leftovers regain texture far better than they usually do in a microwave.
Removable baskets and trays usually require less cleanup than full sheet pans, roasting dishes, or grease-covered stovetops.
Smaller models may require multiple batches, which can erase the time savings when cooking for a family or gathering.
The concentrated heat can dry out lean meat or burn smaller ingredients quickly when cooking times are treated as exact.
Wet batters, overloaded baskets, and moisture-heavy foods may remain soft unless the preparation and airflow are adjusted.
Larger air fryers can occupy a surprising amount of room for an appliance that still may not hold an entire family-size meal.
The air fryer is an excellent choice for cooks who value speed, crisp texture, easy reheating, and manageable cleanup. It performs best with smaller portions and foods that benefit from dry circulating heat, but it becomes less convenient when several batches are required. As a quick weeknight tool rather than a replacement for the entire kitchen, it is one of the most useful countertop appliances available.
BACK TO INDOOR COMPARISONSlow cooking and braising turn tougher, affordable ingredients into tender, deeply flavored meals using time, moisture, and steady heat. They are ideal for chuck roast, pork shoulder, short ribs, chicken thighs, chili, beans, soups, and stews. These methods will not create a crisp exterior on their own, but they deliver the kind of fall-apart tenderness that makes a fork feel wildly overqualified.
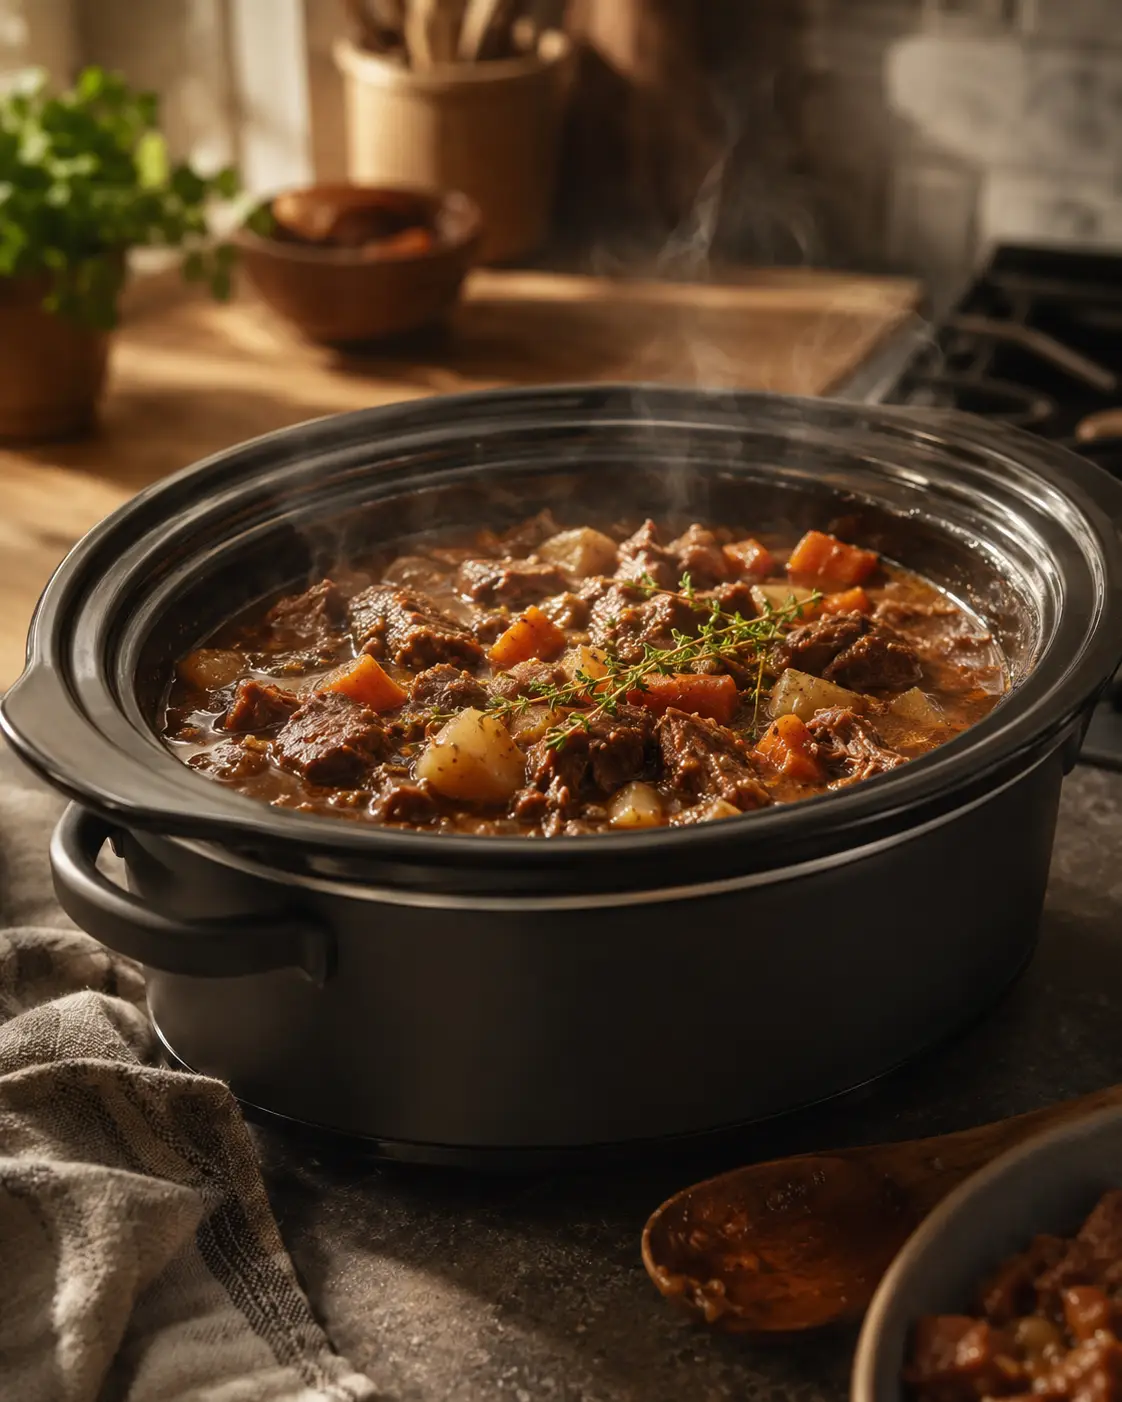
Both methods cook food gently for an extended period with trapped moisture. A slow cooker uses low electric heat inside a covered crock, while braising usually begins with browning in a heavy pot before the food finishes partially submerged in liquid on the stovetop or in the oven.
Use cuts with connective tissue and enough fat to remain juicy during a long cook. Chuck roast, pork shoulder, short ribs, chicken thighs, and similar cuts become more tender as collagen slowly breaks down.
Sear meat and sauté aromatics before adding liquid whenever time allows. Browning creates concentrated roasted flavors that cannot be duplicated by simply placing everything into the pot and hoping for emotional growth.
For braising, the liquid should usually come partway up the food rather than completely covering it. Slow cookers retain moisture exceptionally well, so most recipes need less added liquid than they would in an uncovered pot.
Continue cooking until tough meat becomes easily pierced or pulled apart. Reduce the cooking liquid into a sauce, adjust the seasoning, and use a broiler or hot skillet when the finished dish needs browned or crisp edges.
Long, gentle cooking breaks down collagen and turns economical cuts such as chuck roast and pork shoulder into tender, satisfying meals.
Long, gentle cooking breaks down collagen and turns economical cuts such as chuck roast and pork shoulder into tender, satisfying meals.
Once the preparation is complete, the food can cook for hours with little stirring, flipping, or temperature management.
Meat, vegetables, aromatics, seasoning, and cooking liquid slowly combine into rich sauces, gravies, soups, and stews.
Both methods make generous portions that work well for family meals, gatherings, freezer meals, and planned leftovers.
Moisture and covered cooking soften crusts and skin, so the finished food may need a skillet, broiler, or oven finish.
These methods require planning several hours ahead and cannot easily be rushed when connective tissue still needs time to soften.
Adding every ingredient at the beginning can blur individual flavors. Fresh herbs, acid, salt, and finishing sauces often need to be adjusted near the end.
Successful slow cooking depends on choosing the right cut, controlling the amount of liquid, layering ingredients properly, and recognizing that tenderness—not the clock—is the real finish line.
Slow cookers and braising are ideal for cooks who want deeply flavored comfort food, dependable tenderness, and large portions with limited active work. They require patience and usually need help from a sear, broiler, or reduced sauce to create contrasting texture, but few indoor methods handle tough, affordable cuts as effectively. For pulled meats, roasts, chili, beans, soups, and cold-weather meals, low and slow remains difficult to beat.
BACK TO INDOOR COMPARISONSous vide cooks food inside a sealed bag in a temperature-controlled water bath, giving you unusually even doneness from edge to edge. It is especially useful for steaks, pork chops, chicken, seafood, and make-ahead meals where precision matters more than speed. The water bath handles the gentle cooking, but the final sear is what turns an accurately cooked piece of food into something you actually want to show off.
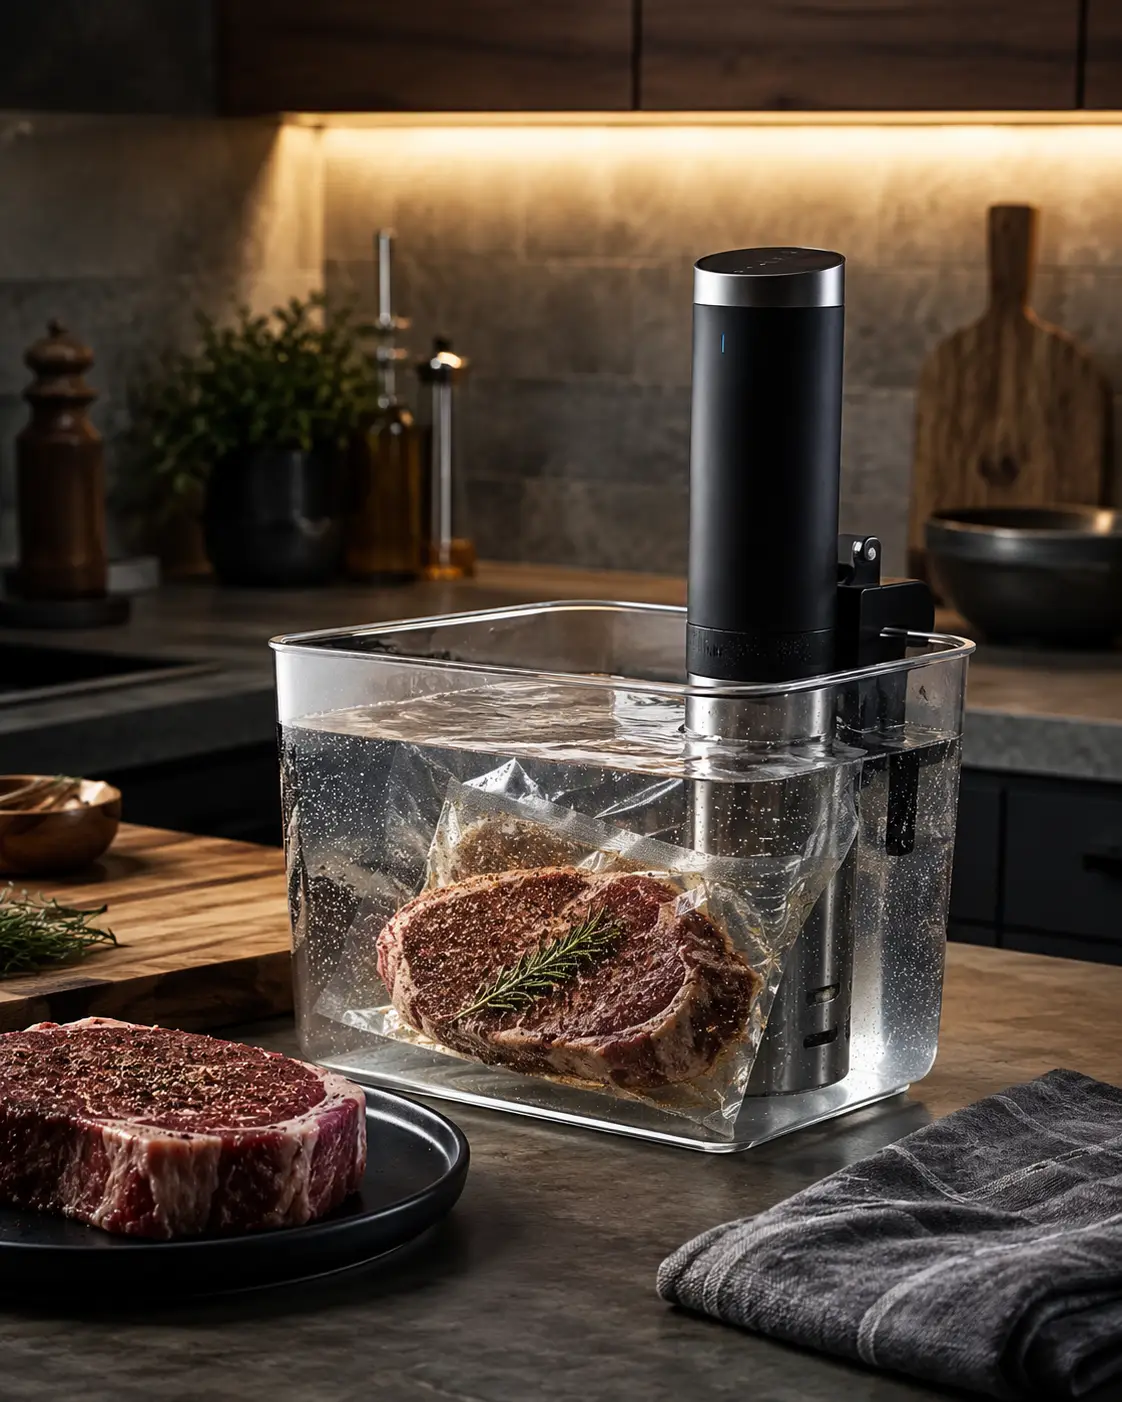
An immersion circulator heats and moves water at a controlled temperature. Food sealed inside a heat-safe bag gradually reaches the temperature of the water bath, allowing the center and outer edges to cook far more evenly than they typically would over direct heat.
Fill a suitable container with enough water to circulate freely, attach the immersion circulator, and set it for the result the food requires. Allow the bath to reach temperature before adding the sealed food.
Season the food, place it inside a heat-safe bag, and remove as much trapped air as practical. A vacuum sealer is convenient, but sturdy zipper bags and the water-displacement method work for many everyday cooks.
Submerge the sealed food while keeping the bag opening secure and allowing water to circulate around it. The controlled bath gradually brings the food to even doneness without the aggressive outer heat of a skillet or oven.
Remove the food from the bag and dry the surface extremely well. Finish it quickly in a very hot skillet, under the broiler, or with another high-heat method to create the browned crust the water bath cannot provide.
Sous vide offers precision, consistency, and a forgiving finishing window that conventional high-heat cooking cannot easily match. Its limitations are equally clear: it takes time, requires extra equipment, and produces no meaningful browning until another cooking method joins the process.
The controlled water temperature greatly reduces the narrow gap between undercooked and overcooked, making repeatable results easier to achieve.
Steaks, chops, chicken, and seafood can cook more uniformly without developing a thick overcooked band around the outside.
Food does not race past the target result as quickly as it can in a skillet or oven, giving the cook more control over when the final sear and serving happen.
Multiple portions can be seasoned and sealed ahead of time, making sous vide useful for organized weeknight meals, entertaining, and planned batch cooking.
Food leaves the bag evenly cooked but visually pale. A fast high-heat finishing step is essential when crust, color, and roasted flavor matter.
Sous vide is precise rather than fast. Even relatively simple foods may require much more advance planning than a skillet, air fryer, or broiler.
The circulator, container, bags, clips, and optional vacuum sealer all need somewhere to live when they are not occupying the kitchen.
Precise temperature does not mean unlimited cooking time. Food left in the bath far beyond its useful window can gradually become softer than intended.
Sous vide is best for cooks who care about repeatable doneness, evenly cooked meat, and the ability to prepare portions with less last-minute pressure. It is slower and more equipment-dependent than most indoor methods, and it still needs a skillet, broiler, or other high-heat finish to create real crust and flavor. Used as one part of the cooking process rather than a complete replacement for conventional heat, it is an exceptionally useful precision tool.
BACK TO INDOOR COMPARISON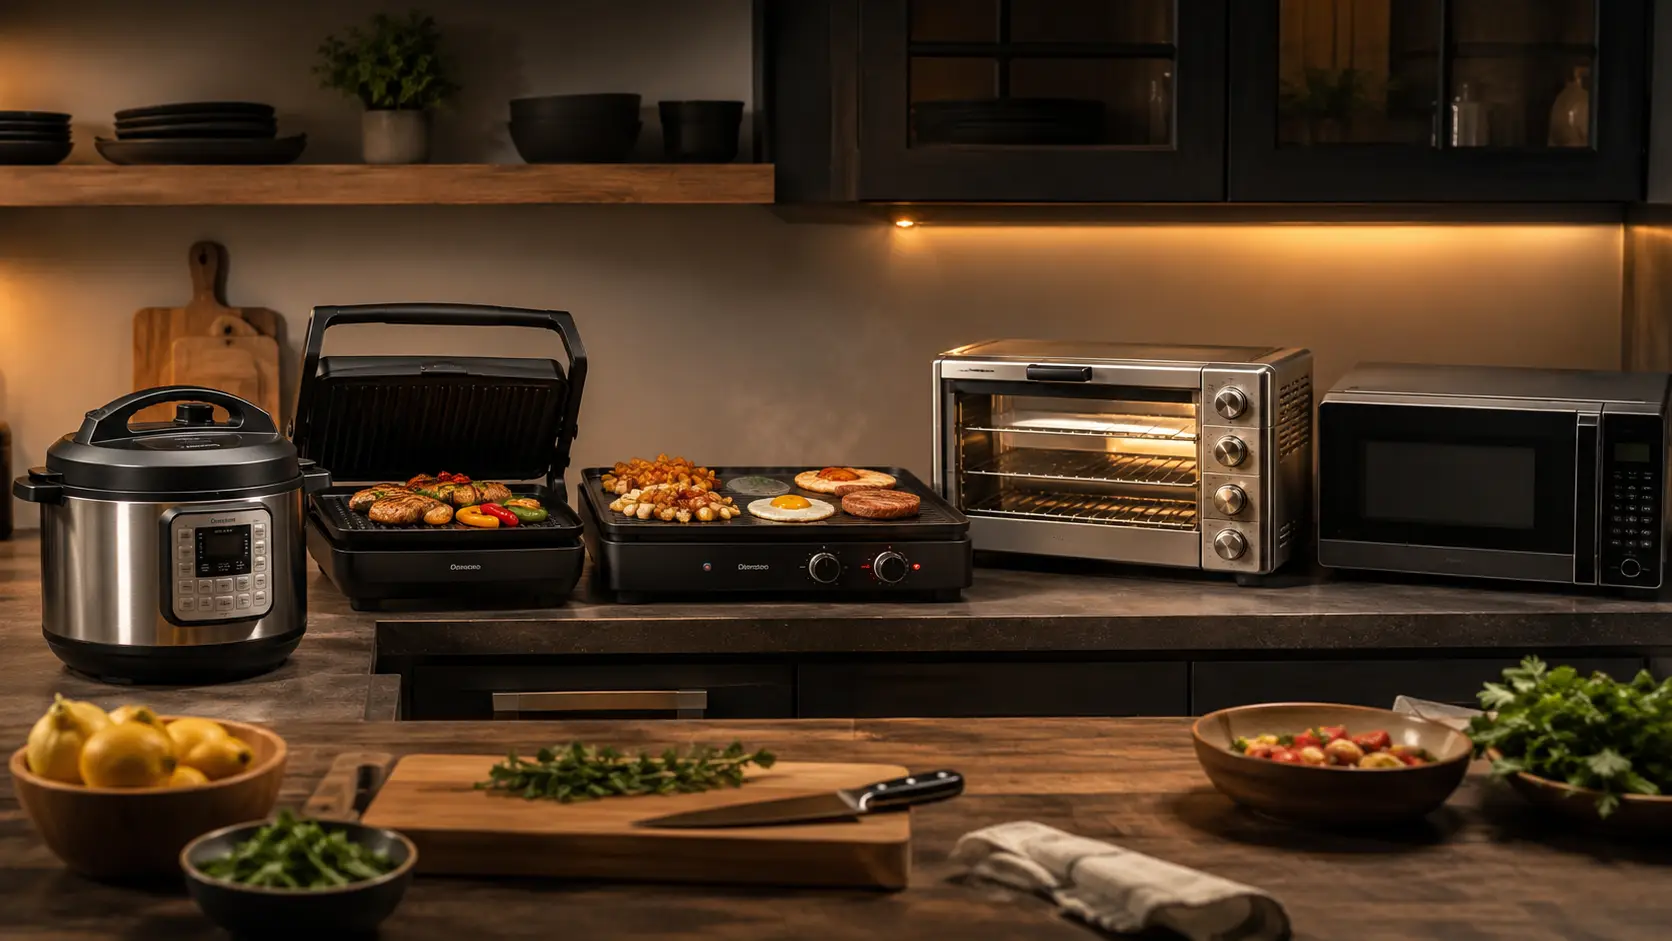
Master the Basics of Better Indoor Cooking
Dry surfaces and uncrowded pans create browning instead of steam.
Dry surfaces and uncrowded pans create browning instead of steam.
Season in layers and taste again before the food reaches the table.
Color builds flavor. Give food enough heat, space, and time to develop it.
Cook meat to temperature instead of trusting the clock alone.
Rest cooked meat, adjust seasoning, and add the final sauce, acid, or crisp finish.
Affiliate Disclosure: This section contains affiliate links. If you purchase through one of these links, we may earn a commission at no additional cost to you. As an Amazon Associate I earn from qualifying purchases.
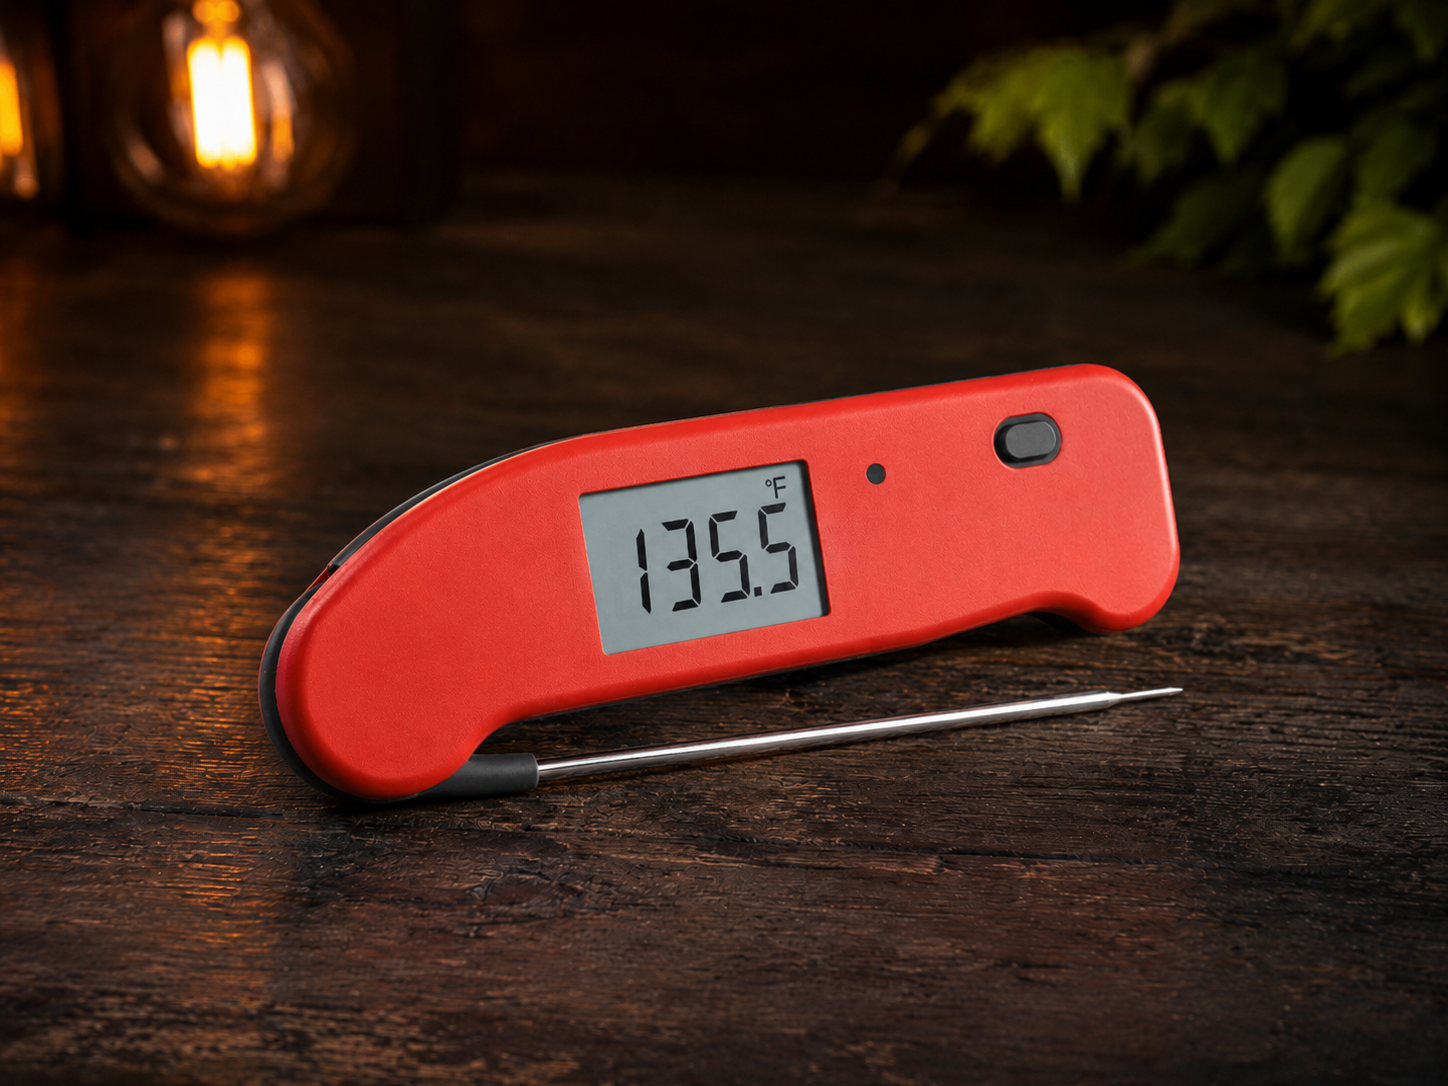
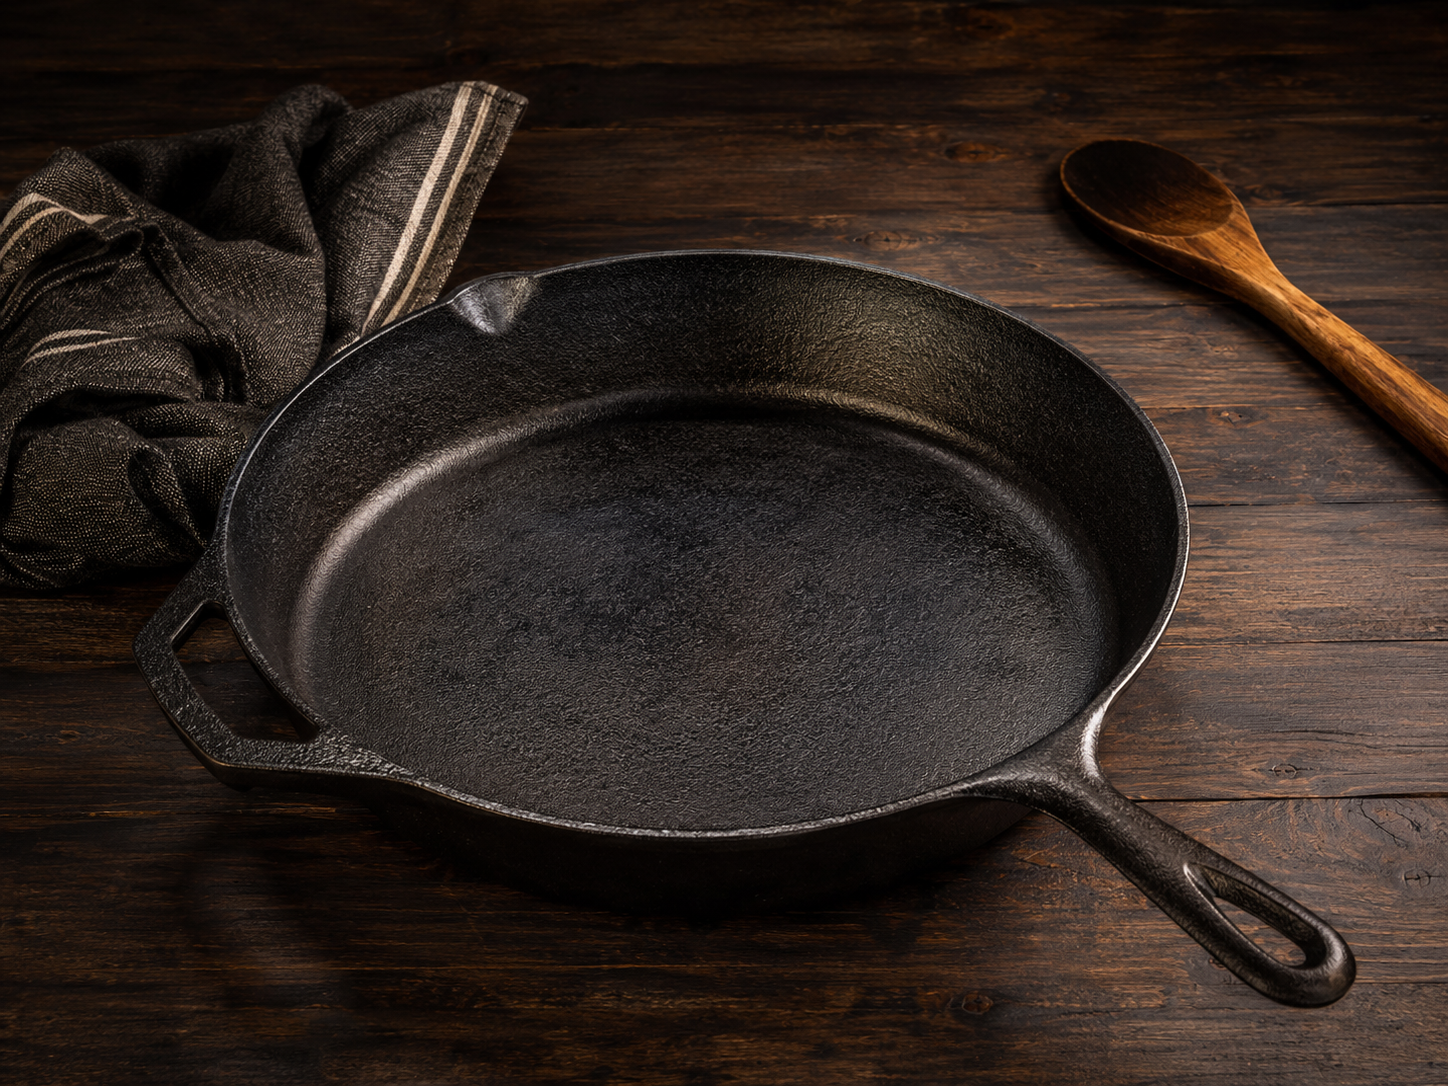
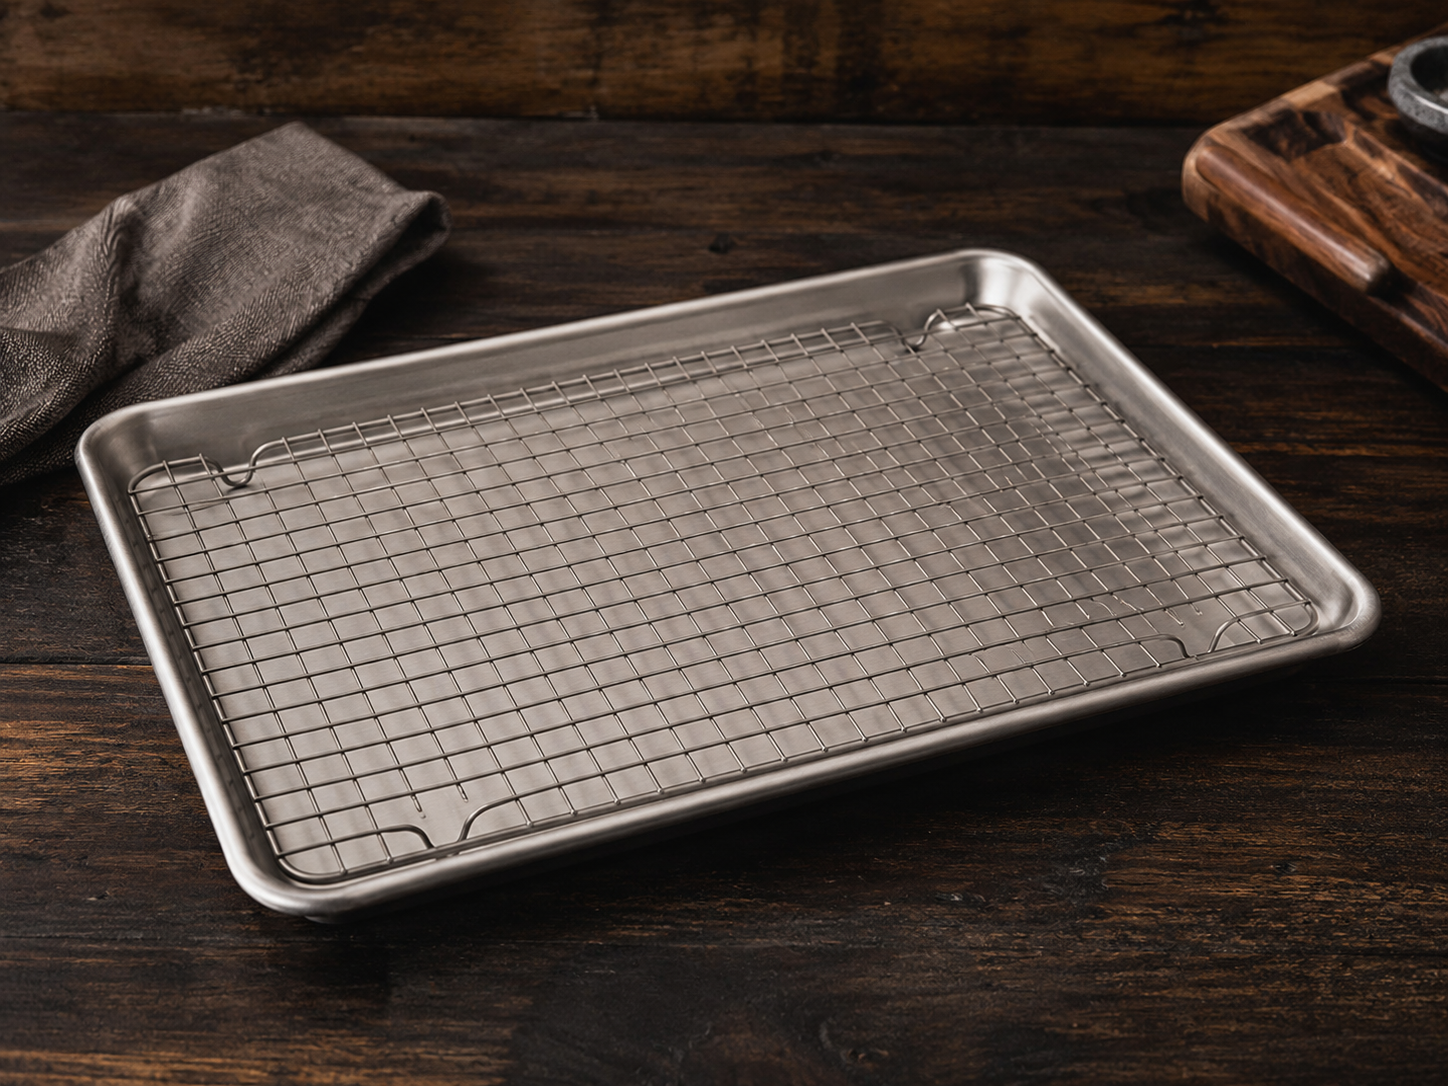
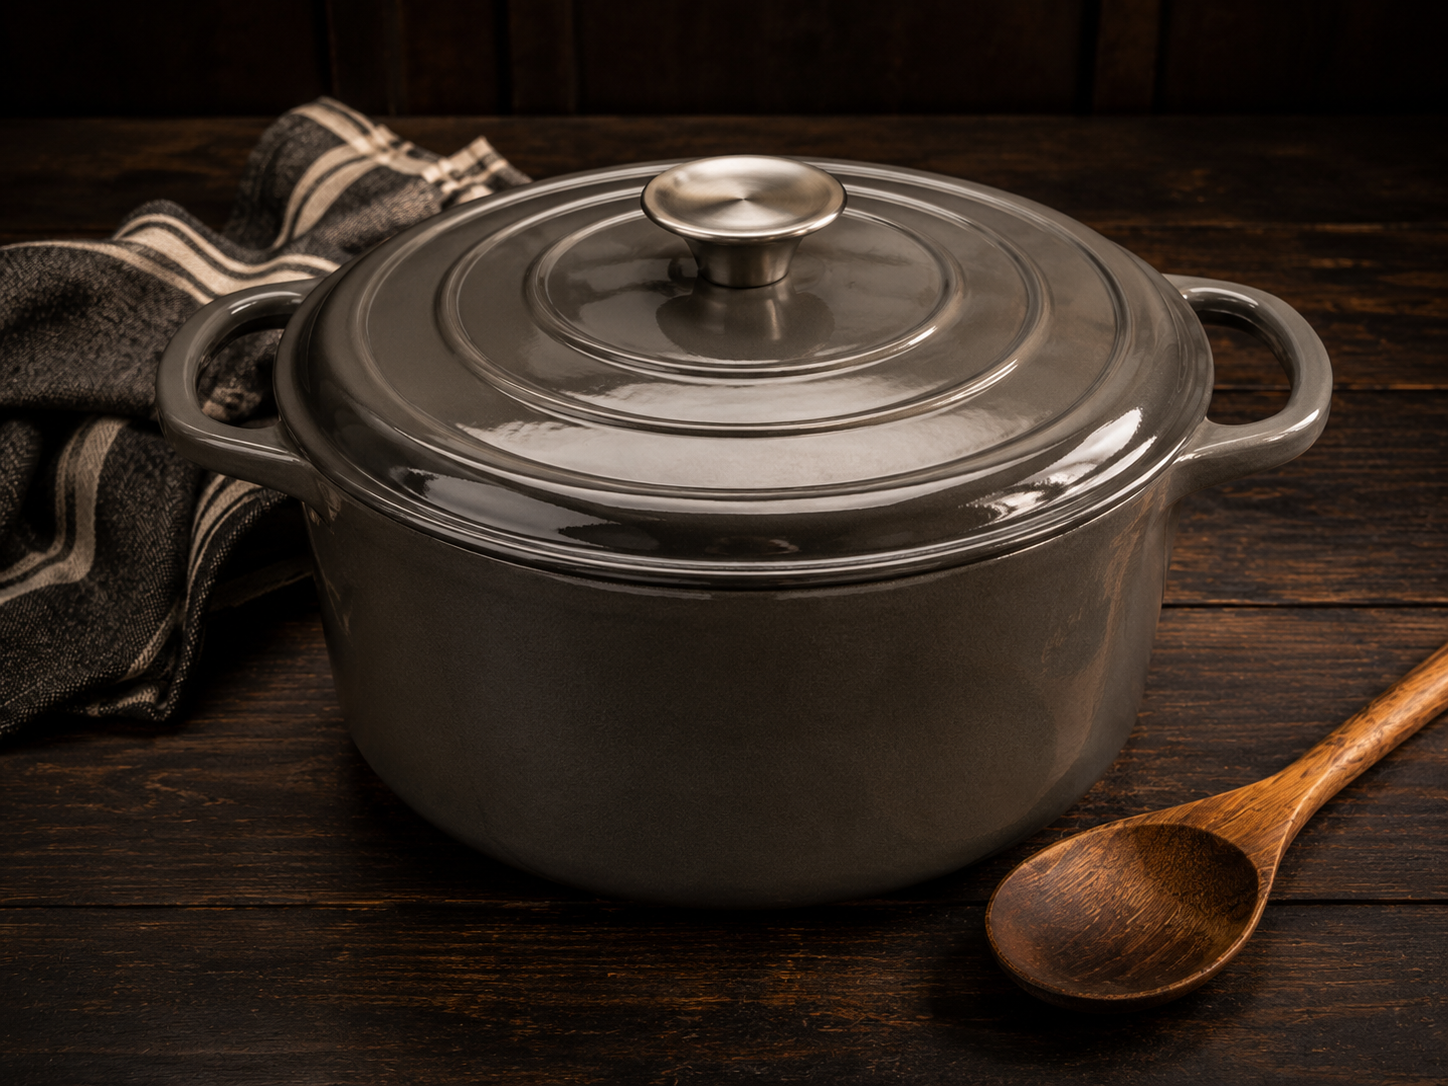
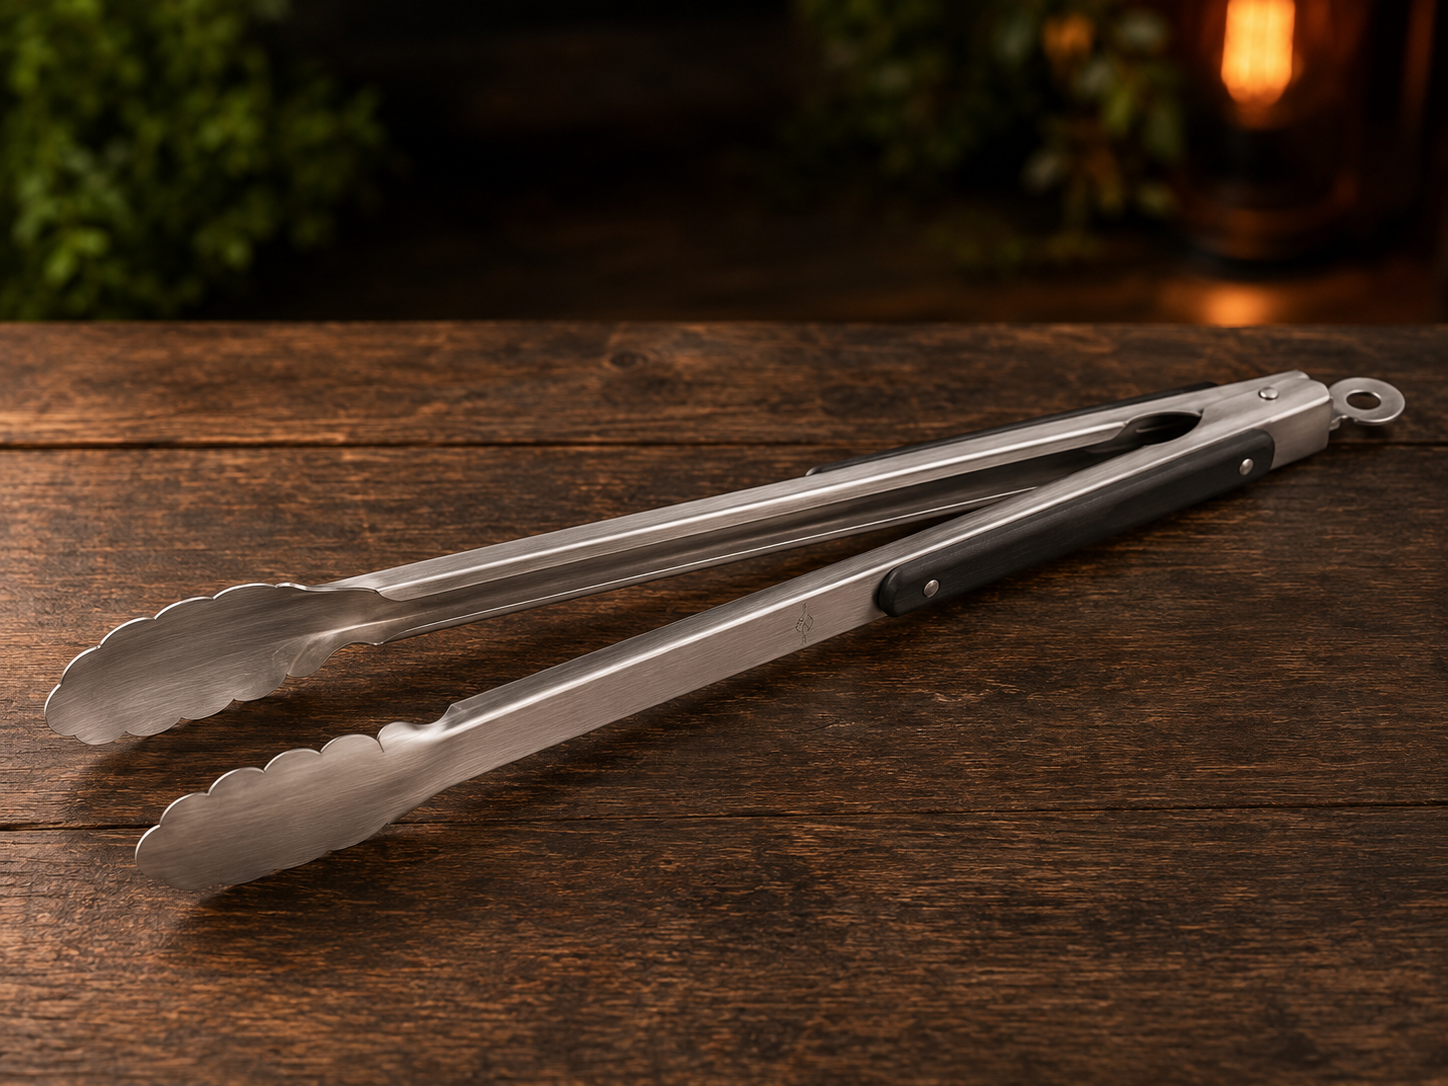
Start with the food you cook most often, the results you care about, and the equipment already in your kitchen. You do not need every appliance on this page—just the method that fits the way you actually cook.
COMPARE INDOOR TYPES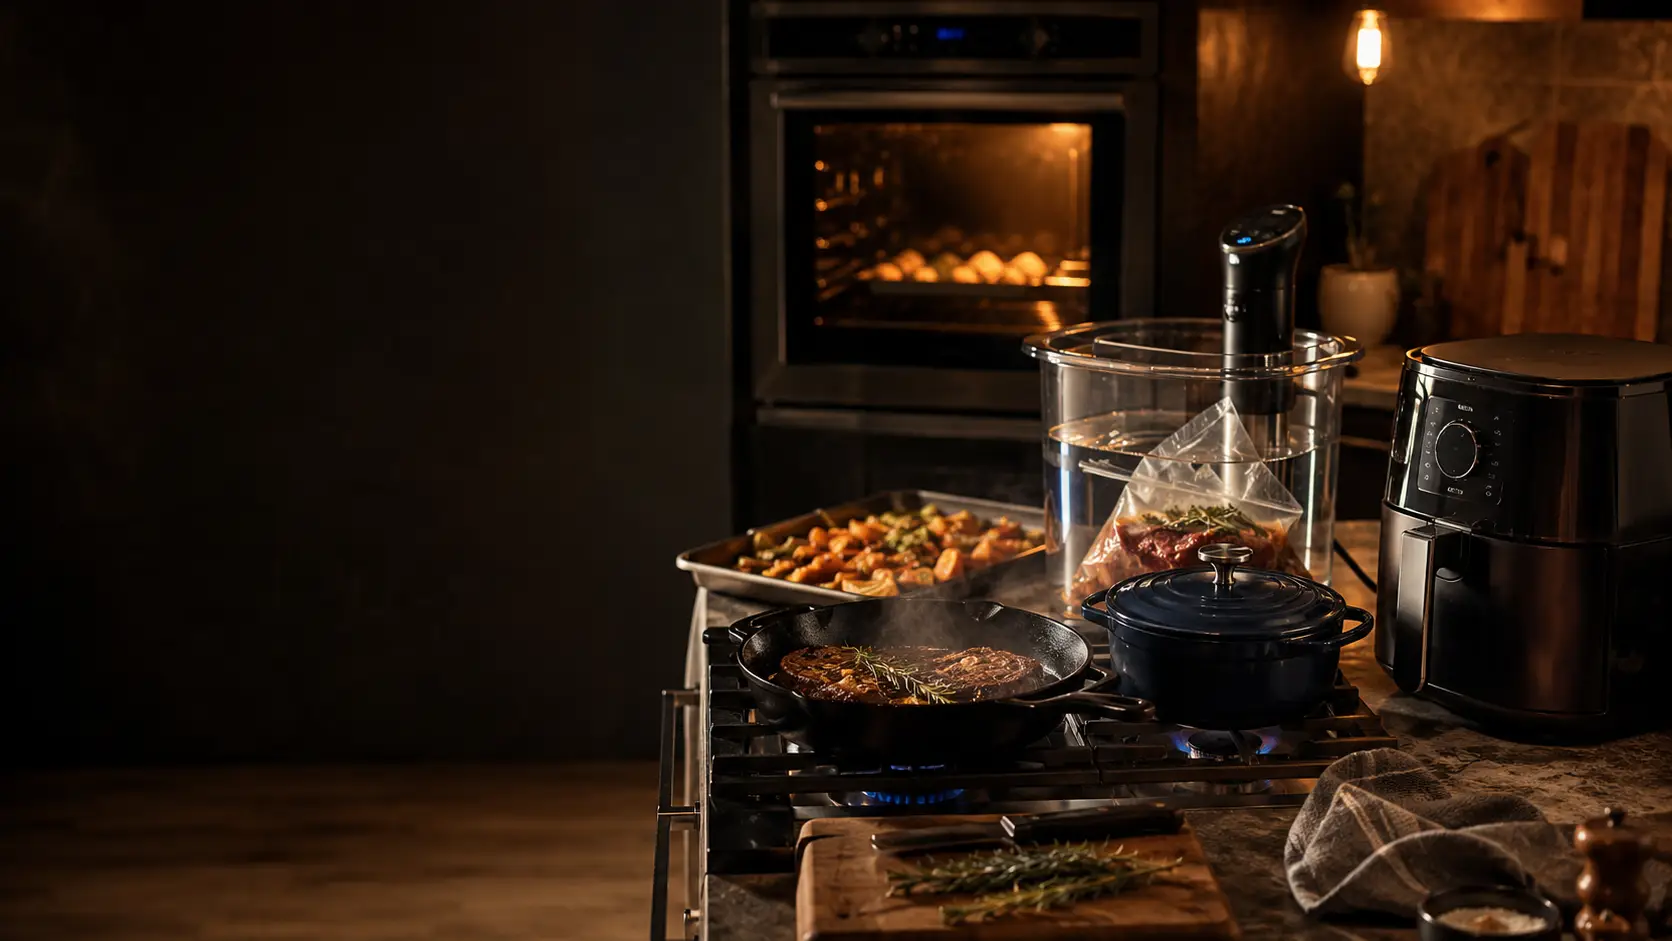

Get approachable recipes, practical BBQ tips, and helpful guides delivered straight to your inbox.
JOIN THE COMMUNITYGet new recipes, practical backyard cooking tips, gear recommendations, and subscriber-only updates delivered straight to your inbox. Plus your free Temp Guide.
No spam. Just useful backyard cooking content. Unsubscribe anytime.
